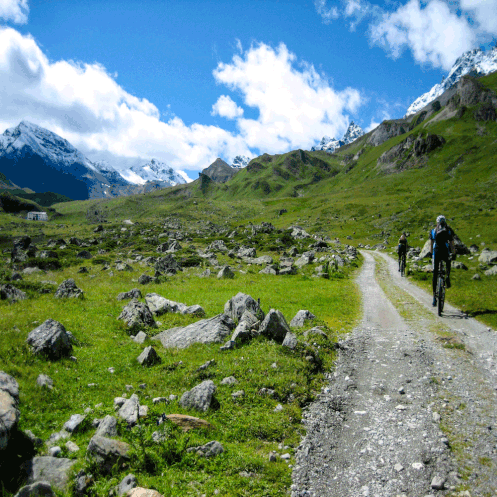
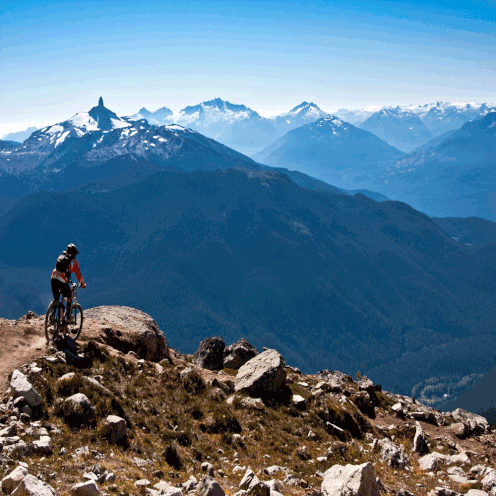
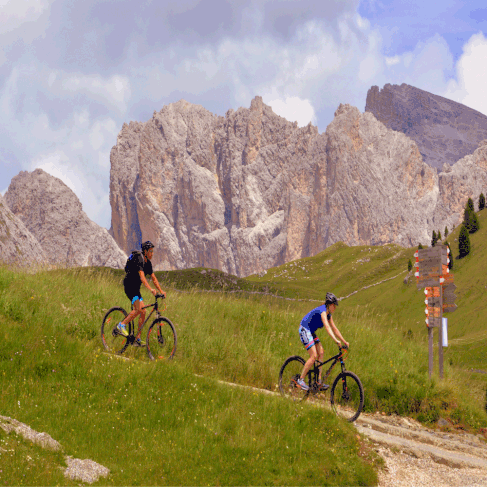
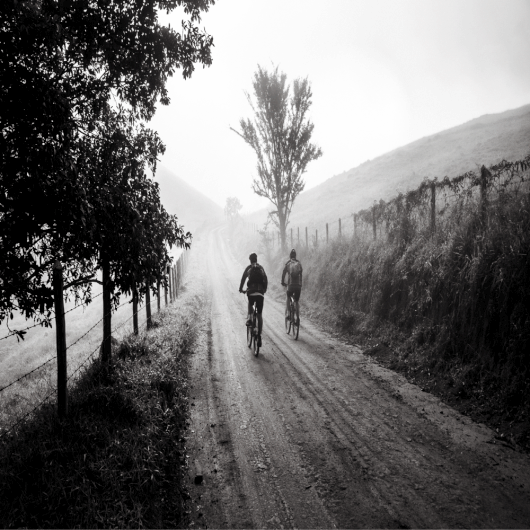
The worldwide coverage of mountain bike ventures is partly due to the limitless possibilities mountain biking presents- a career as a bike racer (Enduro or Cross Country), opportunities to tour the world with other riders and opportune chances to socialize with varying personalities on roads and off-road trails.
Moreover, cycling is an efficient, revitalizing and fun way to tune your body to fitness and clear your mind. As your bike endeavors expand to include far-reaching destinations, we are committed to keeping you comfortable, safe and abreast of the latest bike-world developments. Here, we present usable tips on how to travel with your bike on an adventure.
As with all other adventures, bike adventures’ success is hugely reliant on the zest of your pre-venture preparations. Apart from readying yourself by packing all your journey’s essentials, you’ll have to tweak your bike and all its accompanying paraphernalia in readiness for your coming adventure. The equipment you pack for an adventure involving a bike is enormously contingent on the following factors:
i. The length of time you’ll be gone for the adventure
ii. Weather conditions of the adventure location
iii. The terrain over which you will be riding your bike during the venture
iv. The mode of transport you’ll employ to move your bike from one location to another
v. Where you’ll be spending your nights- campsite or hotel
In case your adventure will be taking place on a different geographical location that will necessitate bike carriage on a bus, train (rail, underground or subway) or airplane, special guidelines moderating bike cartage come to play. While some options will allow you to wheel your wholly-assembled bike into their carriage bays, a majority, especially air transport providers, require you to pack down your bicycle to a bare minimum. Depending on your budget, personal preference as well as the level of protection you want for your bike in transit, there are several packaging modes to choose from, all with specific sets of pros and cons as outlined below:
Cardboard box packaging
Pros
- They are inexpensive
- Are readily available in any bike shop
- A cardboard box provides ample space for packing of all bike parts and accompanying bike components like helmets, maintenance kits and riding attire
- After use, they are easily recyclable or disposable as they are non-biodegradable
- Cardboard boxes offer additional bike protection as other luggage is rarely stock-piled on them- they are considered fragile
- Since cardboard boxes are soft, they necessitate extra padding for bike protection which always boils down to more expenditure
- Packing the bike is usually a hustle and a time-consuming undertaking compared to the other options as the boxes aren’t exclusively designed for bike transport
Pros
- They are by far the safest mode of bike packing
- They sport dedicated places for placement of various bike parts thus simplify packaging and customs inspection
- They offer sufficient space for inclusion of all bike components and complementary gear
- This option is exceptionally costly
- The boxes, excluding the latest fiber introductions, are extremely heavy
Pros
- The bags are fairly priced
- They allow for easy cartage of bikes due to their carriage belts or roller wheels
- With reserved compartments for placement of specific bike parts, some bike bag models are unparalleled in minimizing customs inspection hustle and easing bike packaging
- They usually call for extensive disassembly of a bike
Transport lines insist on bike packaging for a number of reasons including protecting your bike from damage while in transit, easing its placement and motion on customs clearance luggage conveyor systems and to ensure the bikes don’t interfere with other luggage being transported.
Due to the growing use of conveyor systems in luggage handling, full-size bike packages are no longer acceptable in a majority of public transport lines, especially trains and airlines. Buses expressly prohibit carriage of fully-assembled bicycles. You’ll therefore be required to reduce your bike’s height to 1m or less to carry it along your adventure. Here are practical and easy guidelines to achieve this:
- Detach the affront wheel and insert a dummy axle to prevent fork-warping
- Loosen the handlebars, turn them front-back and twist them downwards to occupy less space and shelter the levers. You can then jam pieces of PVC plastic into the bar-ends to secure the controls
- Unscrew the rear derailleur and tie it to the chain-stay using a zip tie
- Attach the bike pump and water bottle to their cages then secure them to the frame using PVC tape. This not only saves substantial packing space but also protects the cages.
- Remove the bike’s computer mount from the uncovered top bar
- Turn the bike’s bell under the handlebars
- Make a point of unscrewing all bike lights before packaging to prevent breakage
- Cover the bike’s saddle with its cover for added protection.
In case you plan on taking your bike on public transport, remember to always conduct due diligence beforehand to ascertain your choice of preference provides for cartage of bikes. This will also prepare you for any allowances, provisions and restrictions on bike size and weight alongside other niceties. Whether you own the best mountain bike under $500, a less costly machine or a more high-end bike, this post will hopefully provide you the much-needed tips on how to travel with your bike on an adventure.

Jonah Haney is an avid cyclist. He's travelled to over 10 countries with his bike. He writes a lot on bikes and biking at his blog. He works with a small group of contributors to his site, and they’re all experienced bikers as well. When not attending to his blog, he's biking in the neighbourhood.


 RSS Feed